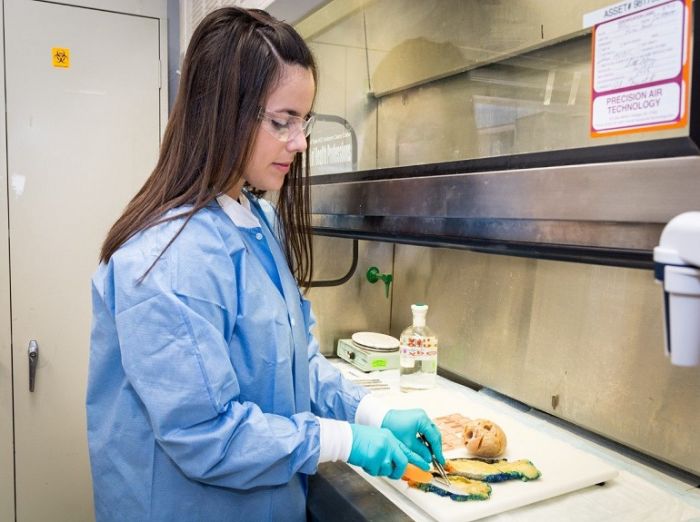
From patient to pathologist, preparing tissue specimens for histological examination requires care, skill and sound procedures. This guide provides practical advice on best-practice techniques and simple ways to avoid common errors.
Tips for better grossing are highlighted in this week's guide. We hope each step provides a valuable reminder of good histology practice and also helps with troubleshooting when unacceptable results do occur.
 Specimens are dealt with promptly (especially large specimens that may otherwise be inadequately fixed).
 No consideration given to optimizing the fixation of problem specimens.
 |
 Care is always taken to prepare uniform, thin slices from large specimens (3–4 mm maximum thickness). This is particularly important with dense tissues.
 Slices are sometimes 6 mm (or more) thick and are often uneven.
 |
 Care is taken to avoid traumatizing delicate specimens, particularly those that are incompletely fixed (handle carefully, do not crush, always use sharp blades).
 Specimens are handled roughly without any consideration as to their state of fixation. Sometimes blunt blades are used in dissection.
 |
 Each specimen is handled on a clean surface avoiding the possibility of specimen-to-specimen contamination.
 Sometimes the surface of the cutting board is not properly cleaned between specimens. This is of particular concern when the same specimen types are cut up one after the other. You do not want to have carry over from a specimen that is malignant to one that is benign.
 |
 Fresh or incompletely fixed specimens are not placed between foam biopsy pads, particularly needle-core specimens (biopsy pad artifact is avoided).
 Sometimes small, fresh or incompletely fixed specimens are placed between biopsy pads, put into a cassette and then fixed. This can produce a characteristic artifact.
 |
 Choose appropriate cassettes for the specimen type being processed. Tissue fragments shrink during processing and, if cassette perforations are too large, fragments may escape into processing reagents or, worse still, transfer over to another specimen.
 A “one size fits all” approach is used when placing specimens into cassettes.
 |
 Cassettes are never overloaded with tissue thus allowing ready access to processing reagents and preventing distortion of specimens. If the volume of tissue is too great a second cassette is used.
 Cassettes are often crammed full of tissue thus preventing access of processing reagents. Sometimes specimens are distorted in the process.
 |
 Cassettes are always clearly labeled. Accurate identification of specimens is of paramount importance.
 Sometimes it is difficult to read the labels on cassettes. A bit of guess work may be required.
 |